> ## Documentation Index
> Fetch the complete documentation index at: https://help.simpletix.com/llms.txt
> Use this file to discover all available pages before exploring further.
# Sending Email Blasts to Attendees
> Learn how to manually send targeted email communications to your event attendees.
# Sending Email Blasts to Attendees
This guide covers how to send targeted email communications to your event attendees, whether for promotional offers, important updates, or post-event surveys.
Email blast functionality is not available for free events without a connected payment processor. To use this feature for free events, please connect a payment processor to your account first.
If you are sending an email about event cancellation, please use the dedicated event cancellation workflow instead of a regular email blast. This ensures proper refund processing and ticket handling. See our [Complete Guide to Cancelling Your Event](/docs/event-cancellation/cancelling-your-event) for detailed instructions.
## Creating and Sending an Email Blast
Go to [manager.simpletix.com](http://manager.simpletix.com) and open your event.
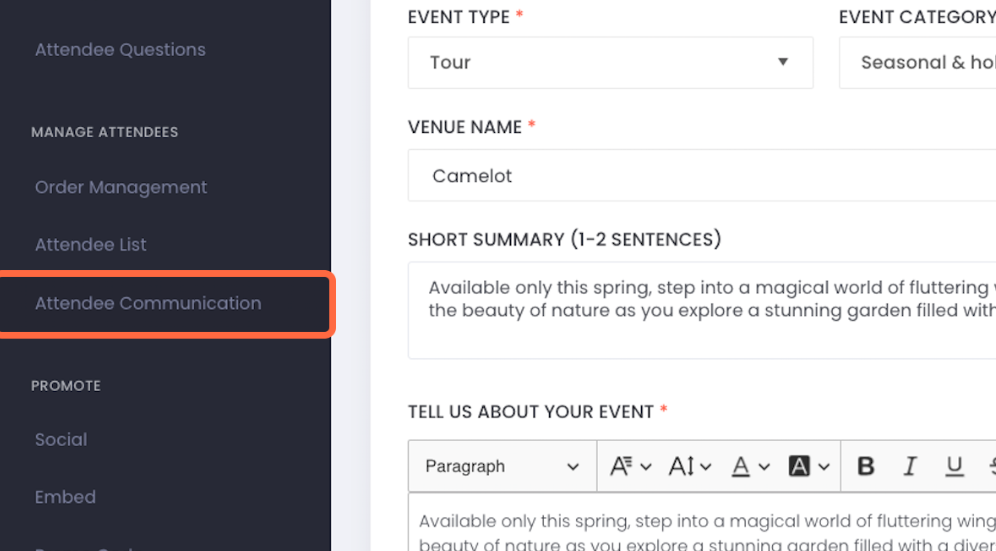
Within the event, click on **Attendee Communication** in the left-hand navigation rail.
 Click on the **Actions** button, then select **Create Email Blast** from the dropdown menu.

Select the event time whose attendees you'd like to send the email to. If you'd like to select more than one date or past events, click **More Options**.
You can further narrow your recipients using the filtering options in the **"Who should receive this email?"** panel:
**Check-in status:**
* **All attendees** — sends to everyone with a ticket
* **All attendees that were scanned in** — only those who were checked in at the event
* **All attendees that were not scanned in** — only those who did not attend
**Ticket Selection:**
* **All ticket types** — includes all ticket types for the event
* **Selected Ticket Types** — choose specific ticket types to target
These filters can be combined. For example, you could email only attendees with VIP tickets who were scanned in, or send a follow-up to all General Admission holders who did not attend.
Toggle the **Include E-Tickets?** option on or off, depending on whether you want to include the attendees' e-tickets in the email.
Click on the **Actions** button, then select **Create Email Blast** from the dropdown menu.

Select the event time whose attendees you'd like to send the email to. If you'd like to select more than one date or past events, click **More Options**.
You can further narrow your recipients using the filtering options in the **"Who should receive this email?"** panel:
**Check-in status:**
* **All attendees** — sends to everyone with a ticket
* **All attendees that were scanned in** — only those who were checked in at the event
* **All attendees that were not scanned in** — only those who did not attend
**Ticket Selection:**
* **All ticket types** — includes all ticket types for the event
* **Selected Ticket Types** — choose specific ticket types to target
These filters can be combined. For example, you could email only attendees with VIP tickets who were scanned in, or send a follow-up to all General Admission holders who did not attend.
Toggle the **Include E-Tickets?** option on or off, depending on whether you want to include the attendees' e-tickets in the email.
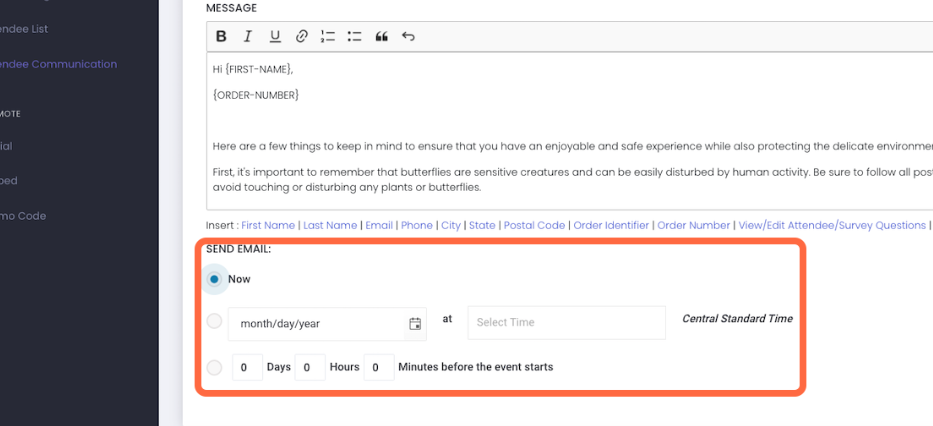
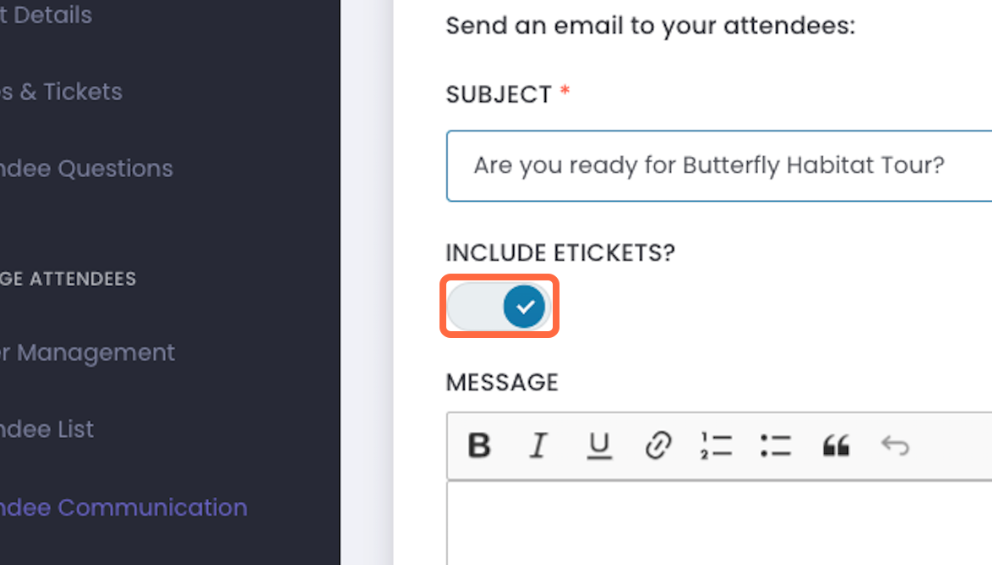 Enter your email subject then proceed to the message editor. You can use the available placeholders to personalize your message
Before sending to all attendees, click **Send Yourself a Test Email** to preview how your message will appear to recipients.
Once you're satisfied with your email content, you'll have the option to send the email immediately or schedule it for a later date or time. After choosing, click Send or Save at the top right of the page.
Enter your email subject then proceed to the message editor. You can use the available placeholders to personalize your message
Before sending to all attendees, click **Send Yourself a Test Email** to preview how your message will appear to recipients.
Once you're satisfied with your email content, you'll have the option to send the email immediately or schedule it for a later date or time. After choosing, click Send or Save at the top right of the page.
 ## Best Practices for Email Blasts
* **Keep it concise**: Respect your attendees' time with clear, to-the-point messaging
* **Use a descriptive subject line**: Make the purpose of your email immediately clear
* **Personalize when possible**: Use the available placeholders to make emails feel personalized
* **Test before sending**: Always send yourself a test email to check formatting and links
Learn how to set up automated event reminders.
Explore how SimpleTix automatically recovers abandoned checkouts.
Information on accessing and managing attendee data.
## Best Practices for Email Blasts
* **Keep it concise**: Respect your attendees' time with clear, to-the-point messaging
* **Use a descriptive subject line**: Make the purpose of your email immediately clear
* **Personalize when possible**: Use the available placeholders to make emails feel personalized
* **Test before sending**: Always send yourself a test email to check formatting and links
Learn how to set up automated event reminders.
Explore how SimpleTix automatically recovers abandoned checkouts.
Information on accessing and managing attendee data.